Give the eye a reason
Contrast, brightness, colour, size, expression and isolation can all pull attention. Which one is doing the work in your frame?
Chapter 15Part 3: Composition
Where does your eye land first in a photograph? A focal point gives the viewer a place to begin. The rest of the frame determines where they go next.
A focal point is the part of a picture that attracts attention. It can be a person, a small patch of light, a strong colour, or the place where several lines meet. A photograph can have one clear point or a sequence of them. Ask yourself where you want the viewer to begin, then what you want them to notice next.
Contrast, brightness, colour, size, expression and isolation can all pull attention. Which one is doing the work in your frame?
One element can lead while another adds context. If several bright or detailed areas shout equally, the viewer may not know where to begin.
Lines, gestures and the direction someone looks can lead the eye onward. Check whether that journey supports the story you want to tell.
Focal point is different from camera focus. Autofocus sets a plane of sharpness. Visual attention can land on a sharp face, but it can also land on a bright, soft shape in the background. Look through the whole frame after you focus.
Study each photograph for a few seconds before reading the captions. Notice your first stop and the next thing you explore. The response can differ between viewers; that is useful information when you edit your own pictures.

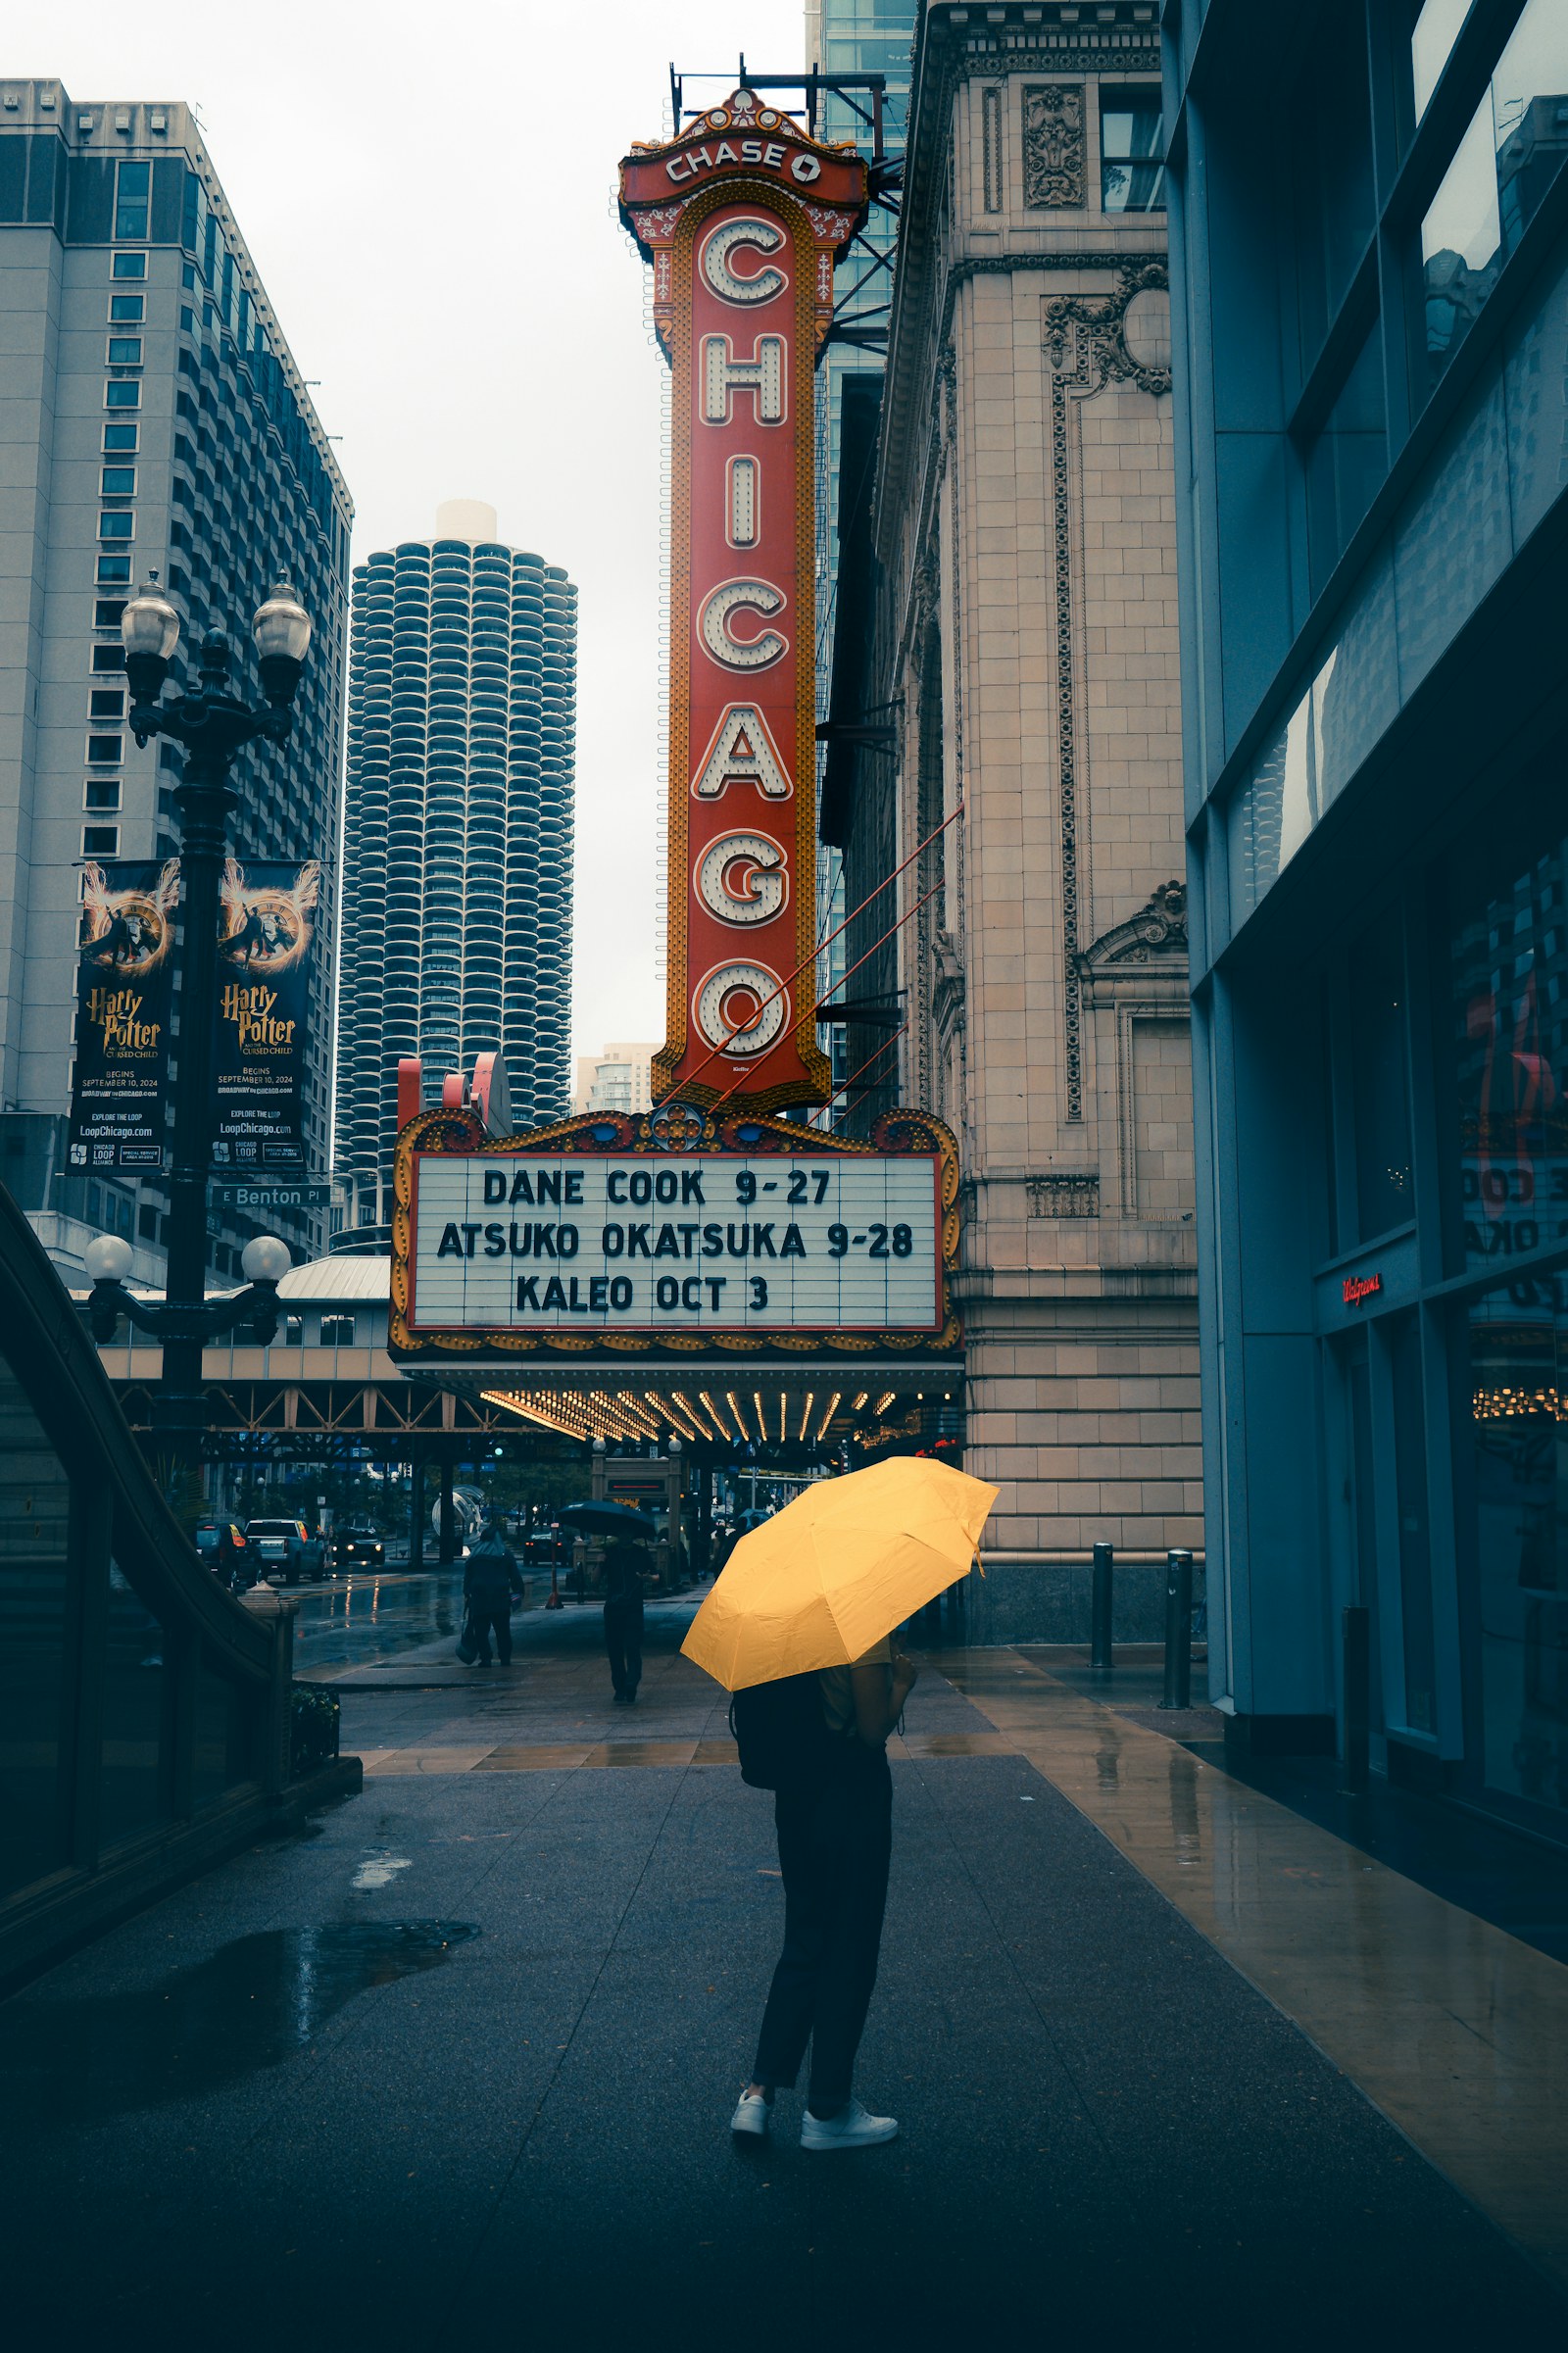
These photographs show different scenes, so they do not prove that one arrangement is stronger. They let you compare how isolation and competing accents affect the order of attention. To test placement fairly, make several versions of the same scene in the exercise below.
The rule of thirds divides the frame into nine rectangles. The golden triangle uses a long diagonal and two shorter lines to suggest angled relationships. Both can give you positions to try when a frame feels static. Neither tells you what matters in the scene.
Turn on each guide and look at the tree. It sits near the middle, away from most suggested intersections. The photograph still has a strong focal point because silhouette and space make it unmistakable.
The lines can be useful when you want room for a second subject or a directional path. Place an important element near a line, then judge the whole image. If the frame feels better with your subject elsewhere, trust what the photograph shows.
The golden triangle can be flipped or rotated to match the direction of a scene. These lines show one orientation only.
Find one subject with a second visible element nearby: a person and doorway, flower and window, or bicycle and sign. Stay with the scene for ten minutes. Keep the light and subject as consistent as you can, and make these three photographs.
Bring back: three photographs. Under each, write “I notice ___ first, then ___.” Show them to another person without your notes and ask where their eye goes. If their path differs, identify the colour, brightness or shape that may have led them there.
Keep the exercise about camera position and timing. If you test a crop afterward, compare it with the original frame and note what changed.
This original lesson develops the ideas in Chapter 3 of StudioBinder’s The Elements of Composition: The Complete Guide. See the composition reading plan.
The example photographs are available under the Unsplash License; photographer links appear beside each image.