Find the path
Trace the strongest edge or sequence from one end to the other. It may enter from a corner, run across the picture, or stop at a subject.
Chapter 16Part 3: Composition
A road edge, a window frame, a shoreline, or even a person's gaze can carry your eye through a photograph. Notice where the path begins, where it ends, and what it asks you to see.
A line in composition is any visible edge or suggested path that helps connect parts of an image. Roads, railings and shadows make literal lines. A row of people, repeated lights or the direction someone looks can suggest a line without drawing one. The useful question is: where does it take your eye?
Trace the strongest edge or sequence from one end to the other. It may enter from a corner, run across the picture, or stop at a subject.
A leading line works when it connects to something worth seeing. A bright edge that runs straight out of the frame may pull attention away.
Take one step sideways or lower the camera. The same path can point toward a person, pass beside them, or disappear behind them.
Lines suggest a route; they do not force one. Brightness, faces and colour may attract attention first. Some photographs work better when the eye is free to wander.
The shape of a line changes the journey through the frame. These small diagrams mark the path in amber and a possible subject with a pale circle. Use them as ways to notice a scene, not fixed formulas.
A horizon, shelf or railing carries attention across the frame. Look at what interrupts the line.
Doorways, trees and buildings move attention up or down and can frame a person beside them.
A sloping edge crosses the picture quickly. In a street or aisle, it can also suggest distance.
A riverbank, path or bend in a road gives the eye a slower route with a turn along the way.
Several edges meet near one place. From the right viewpoint, parallel roads or walls appear to meet in the distance.
An implied line can take any of these directions. Try following a glance, a pointing hand, or a sequence of similar objects.
Look at each picture before revealing the guides. The amber marks trace selected edges; they are one possible reading of the scene, not instructions to look only there.

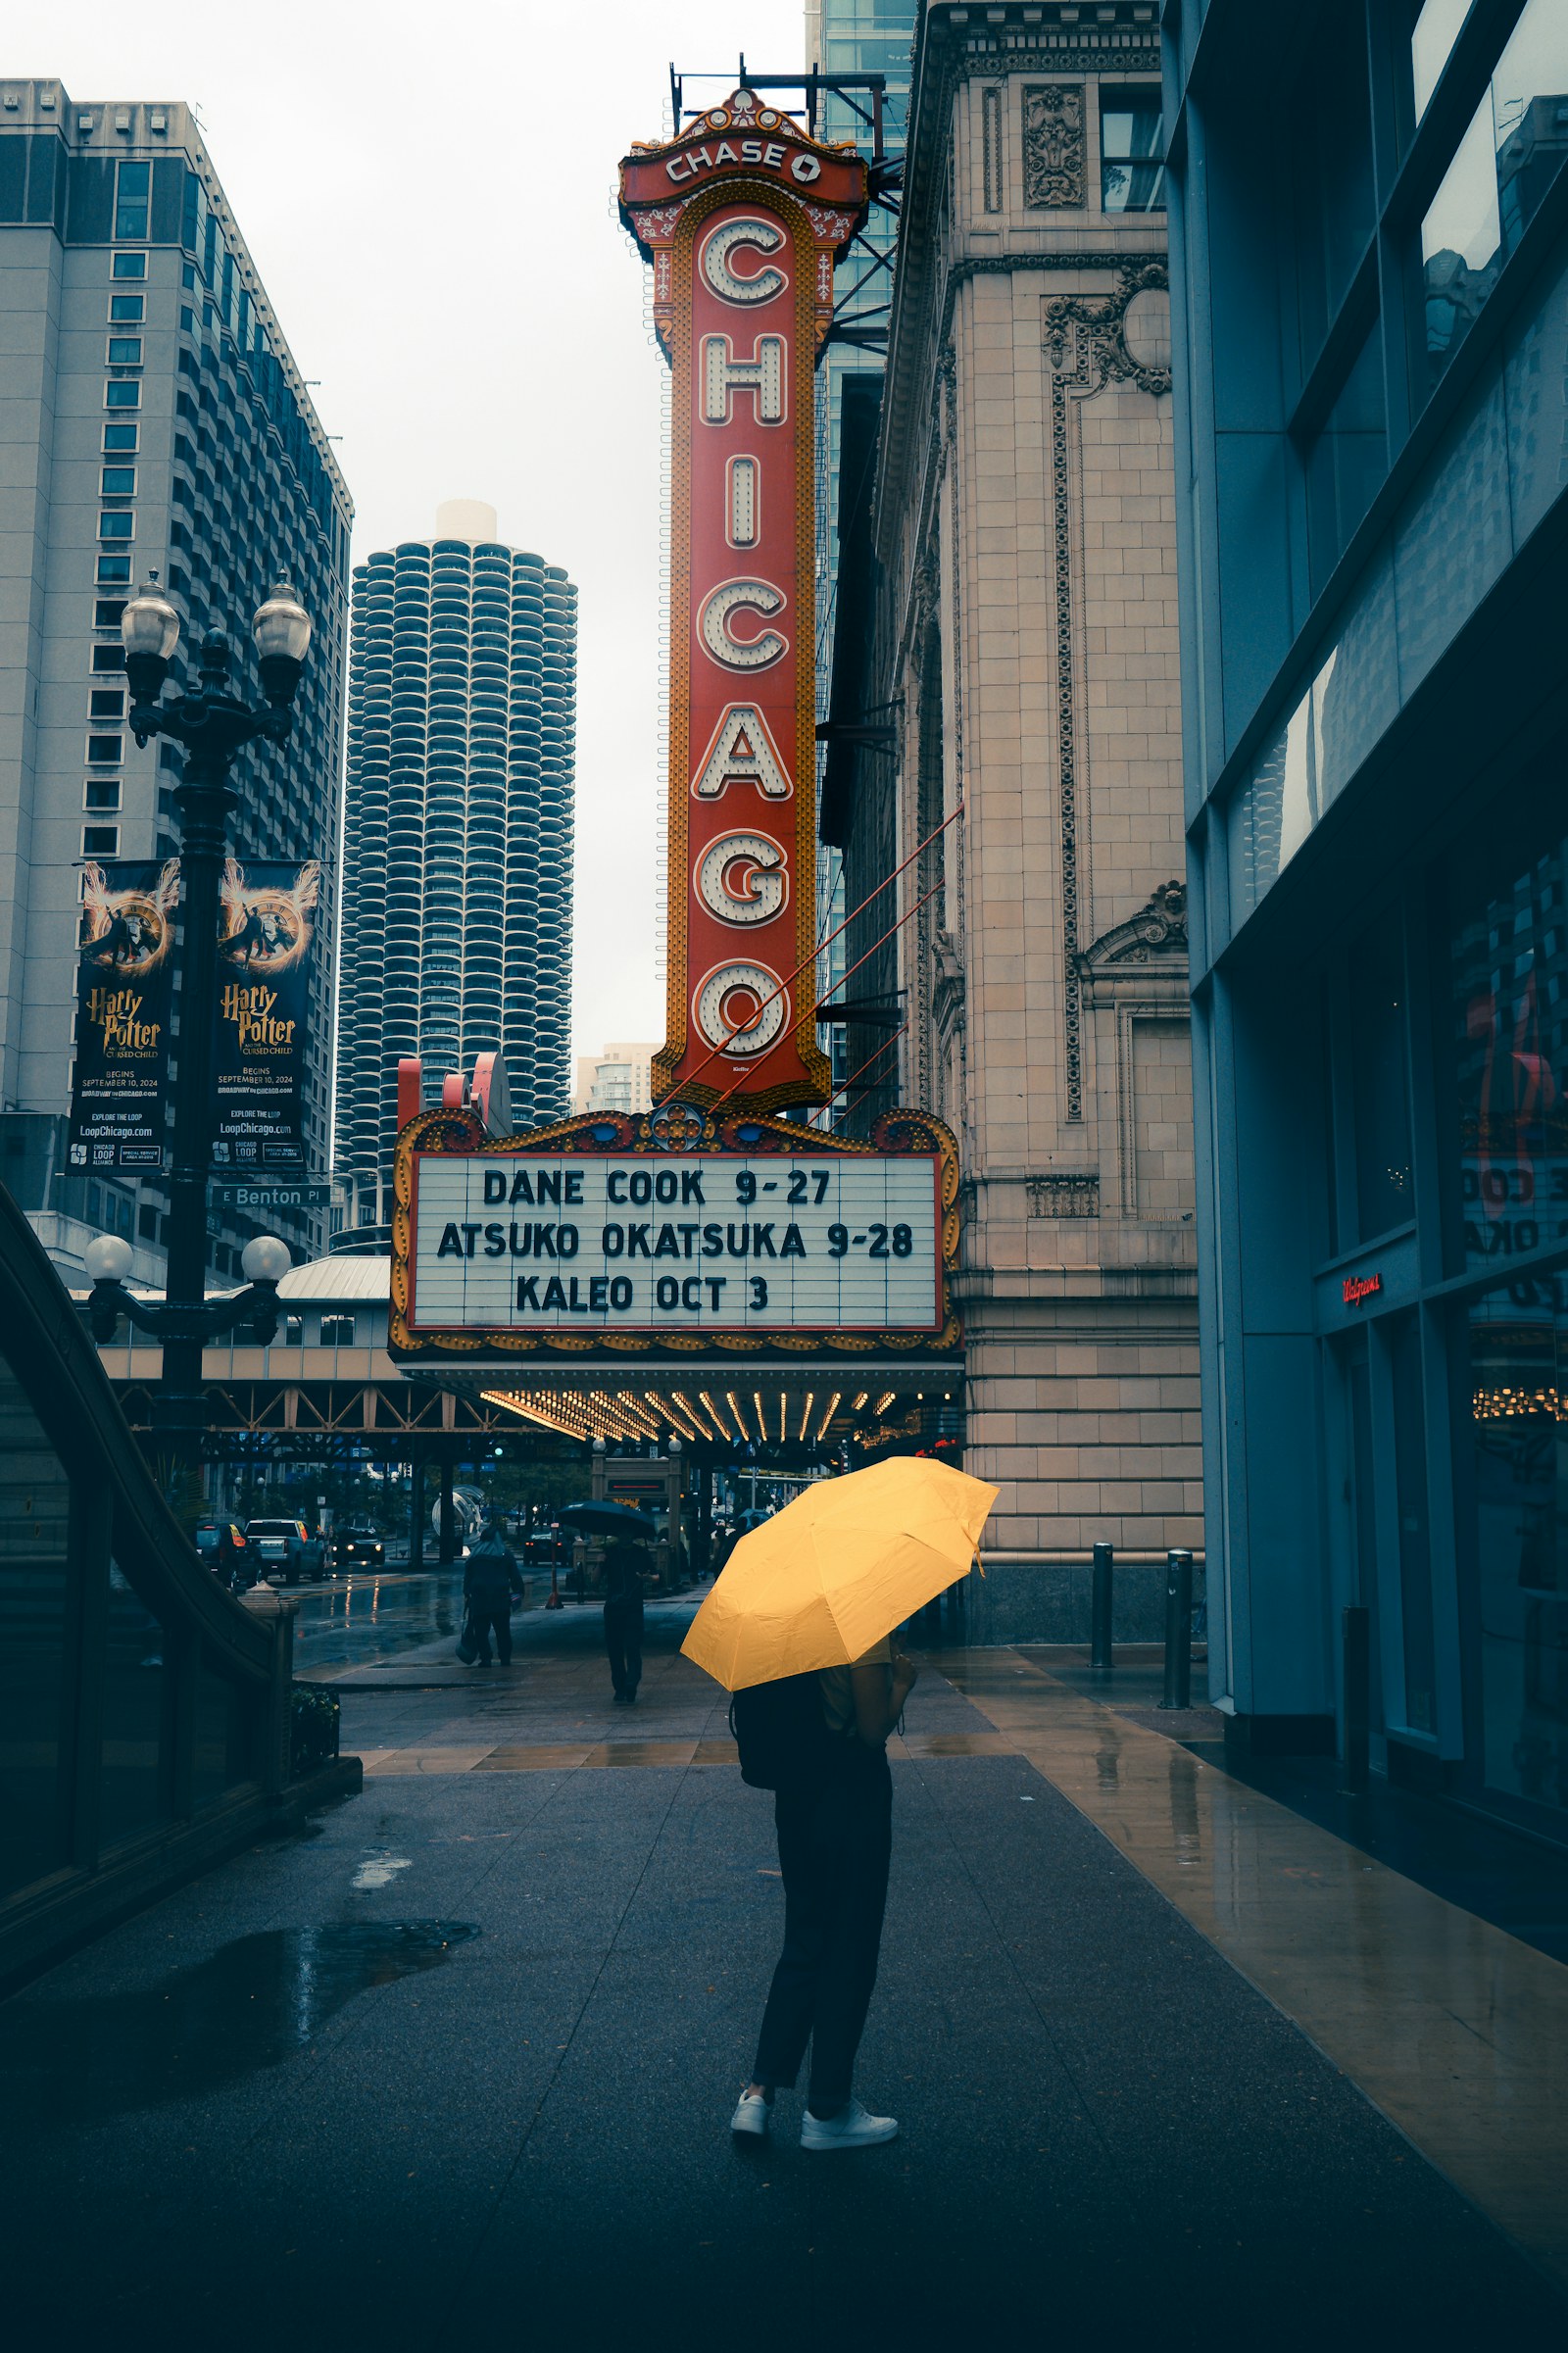
The subjects and lighting differ, so these pictures are for reading line paths, not ranking one composition over the other. In the exercise, change the camera position around one subject to see what the lines actually do.
Find a subject near a path, fence, window, riverbank or row of objects. Keep that subject and the light as consistent as you can. Make three photographs by changing where you stand and how you frame.
Bring back: three frames of the same subject. Draw the strongest path on a copy of each image, then write where it begins and ends. Ask someone else what they noticed first before showing your drawings.
Stay safe around roads, tracks and water. A doorway, table edge or row of books works just as well for this exercise.
This original photography lesson develops Chapter 4, “Lines,” of StudioBinder’s The Elements of Composition: The Complete Guide (printed pp. 15–22). See the composition reading plan.